
Background#
During the process of RECON you often get thousands of domains you have to look at. A suitable way to decrease the time you spend on each website is to take a screenshot of each website. There are several tools available such as EyeWitness (https://github.com/ChrisTruncer/EyeWitness) or ScreenShotter (https://github.com/BladeMight/ScreenShotter). Unfortunately, I had issues setting them up the way I wanted, so I created a little workflow which will use WebScreenshot, Aquatone and express-photo-gallery to quickly identify your attack-surface.
If you are into Recon and automation, you should definitely check out Nahamsec’s tool LazyRecon (https://github.com/nahamsec/lazyrecon/blob/master/lazyrecon.sh)
The way we will do it is to set up a virtual server, gather subdomains using aquatone-discover, scan the subdomains for open ports on 443 and 80 using aquatone-scan, take a screenshot using WebScreenshot, and finally create thumbnails using epg-prep and display them in a nice way using the node tool express-photo-gallery.
Setting up a Digitalocean VPS#
For the Setup I am using a cheap VPS system from Digitalocean.
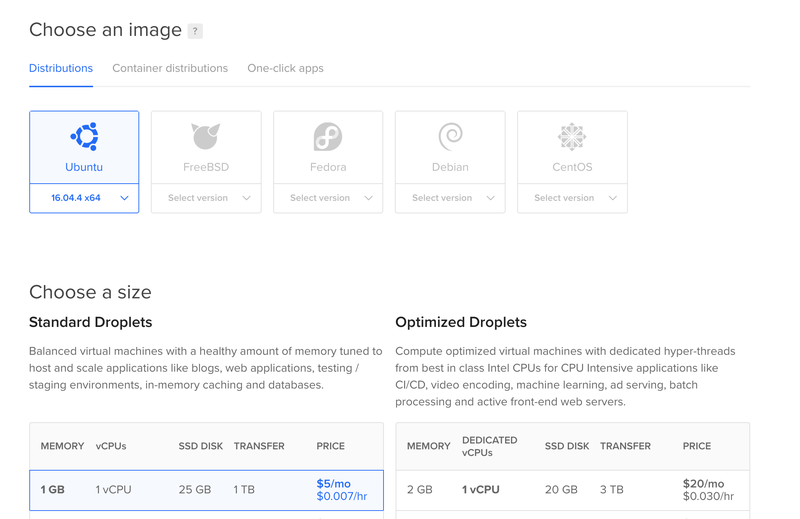
The easiest operating system for me was Ubuntu together with 1GB of memory, one vCPU and 25GB of SSD Disk. This should be more than enough for the task.
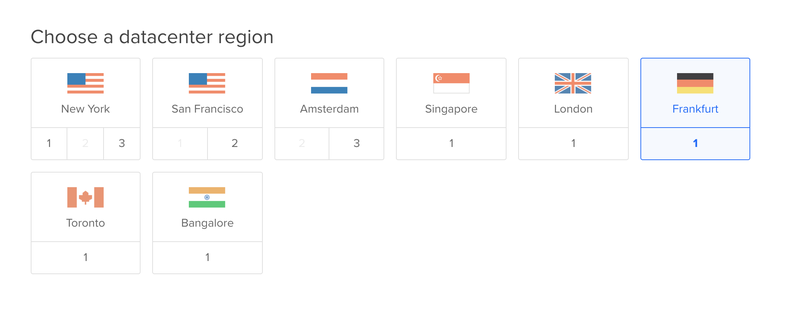
For the region I always chose the one that’s closest to my physical location to avoid latencies, (in my case Frankfurt is the closest location)
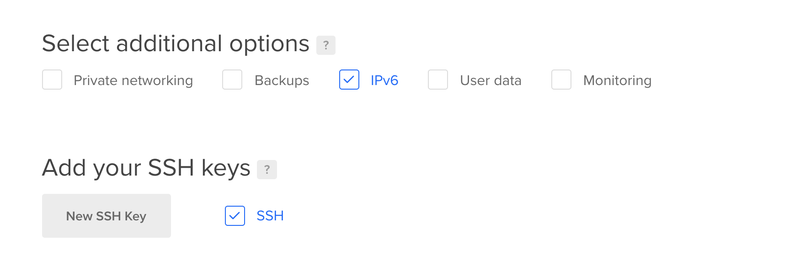
I like to add IPv6 support to my droplets to have a better coverage of IPv4 and IPv6 targets, for the authentication I use my SSH keys (who remembers Passwords anyways?)
Walkthrough#
So the first step after deploying your machine is to log in using SSH:
ssh root@yourip, after this you want to install all the following necessary tools (see bottom). After you’ve installed all the necessary tools we can go ahead and start our visual recon process. For this example we will be using the domain uber.com — you can find their bug bounty program here: https://hackerone.com/uber.
Enumerating subdomains#
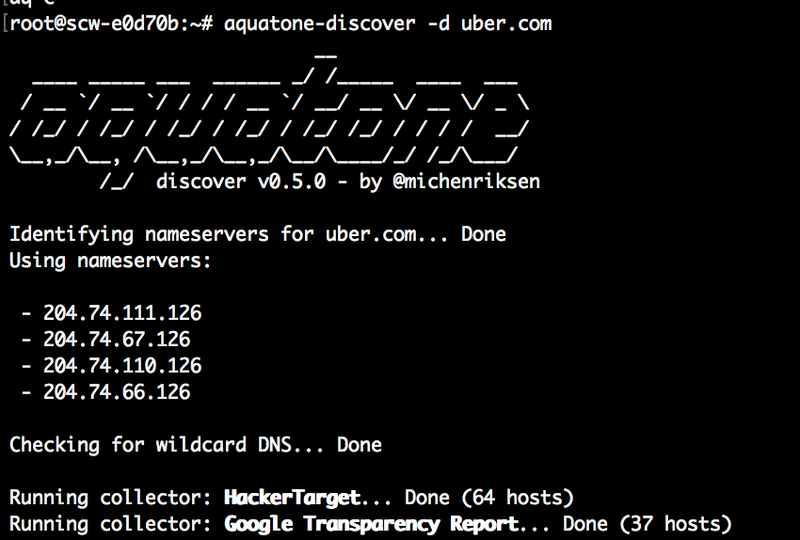
To start we first run aquatone (https://github.com/michenriksen/aquatone/) to identify potential subdomains, to do so: aquatone-discover -d uber.com , you should see an output similar to this:
Scanning for open web ports#
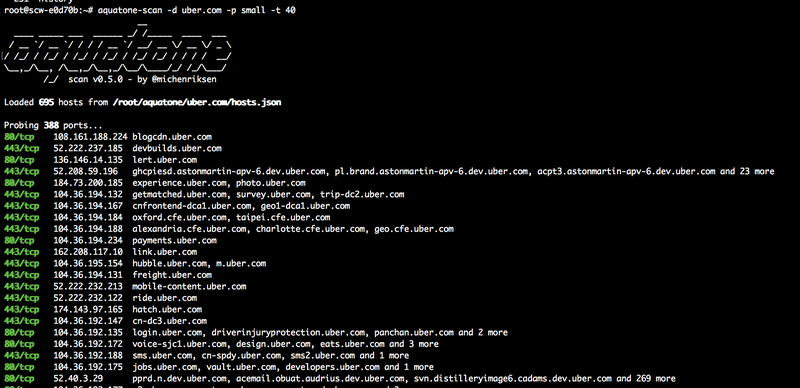
Once the script has finished enumerating the subdomains, we need to identify whether the subdomains have a web server running, while it is possible that there could be a webserver on a different port, for this blog we will only focus on the ones running on port 443 and 80. To do the actual scan we use the aquatone-scan, with aquatone-scan -d uber.com -t 30 -p small (where -t is defining the Threads used, and -p is the amount of ports used, small does only look for port 80 and 443.)
Taking the screenshots#
Now that we have identified all the open ports of the assets we can now go ahead and run Webscreenshot. It is possible to create screenshots with Aquatone too (using aquatone-gather) however, I wasn’t able to set it up properly on a VPS system, as such I am doing this with WebScreenshot. To do so we use the command webscreenshot -i /root/aquatone/uber.com/urls.txt -o uber.com this command tells webscreenshot to grab the list of urls created by aquatone and take a screenshot of each available domain inside the uber.com folder

This will likely take some time. If you have an unstable internet connection, I recommend running this in a so called screen session. Screen allows you to run a script in a separate process and lets you detach it and return to it again. To do so run screen -R uber and press ctrl+a+d to detach from the window. To return you simply type screen -r uber.
Building the gallery#
Once this is done, we use a tool called epg-prep (https://www.npmjs.com/package/epg-prep) to create thumbnails. To do so, simply run: epg-prep uber.com
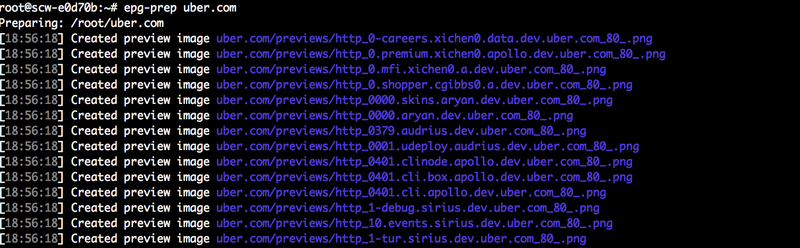
This will allow us to view the created pictures using express-photo-gallery.
In a final step, use the express-gallery-script from the bottom of this blogpost and save it as yourname.js. All you need to do is to change the folder name inside the script: app.use('/photos', Gallery('uber.com', options)); the folder name in this case is set to uber.com but depending on which target you look at it may be different. Once you’ve done that you can simply run the script using node yourname.js. This will create a webserver listening on Port 3000 with an endpoint called /photos. So to access this you simply type: http://yourserverip:3000/photos to get a nice overview of the subdomains you have enumerated. You can easily switch the photos by pressing the left or right arrow on your keyboard. At the bottom you will see a summary of all the screenshots that have been taken.
Tools and software#
The next section will include all the necessary tools and software used in this blogpost, it should be enough to simply copy + paste those in your SSH session.
System tools#
apt update && apt upgrade
curl -sL https://deb.nodesource.com/setup_6.x | sudo -E bash -
apt install -y git wget python python-pip phantomjs xvfb screen slurm gem phantomjs imagemagick graphicsmagick nodejs
Requirements for WebScreenshot#
pip install webscreenshot
pip install selenium
Requirements for express-photo-gallery#
sudo npm install -g npm
npm install express-photo-gallery
npm install express
npm install -g epg-prep
Requirements for Aquatone#
git clone https://github.com/michenriksen/aquatone.git
cd aquatone/
gem install aquatone
express-photo-gallery script#
var express = require('express');
var app = express();

var Gallery = require('express-photo-gallery');

var options = {
  title: 'My Awesome Photo Gallery'
};

app.use('/photos', Gallery('uber.com', options));

app.listen(3000);
Easy right?

Patrik Grobshäuser